


How To: Create a time-lapse movie from still photos with a digital camera and iMovie
Ever wonder how people make those wonderful and awe-inspiring time-lapse films? Well, this video shows you the bare basics of creating a time-lapsed movie. First, you'll need to set your digital camera on a tripod and set it to take stills at your desired intervals. Then, you'll need to import all of these photographs into Aperture or iPhoto on your Mac computer. Then it comes times to turning those pics into a time-lapse film. Watch and see how!

How To: Make a video podcast using iMovie
If you're creating a series of movies, you can use a video podcast to share your movie with team members and friends. A video podcast can be a series of videos you post to a website over time. Others can subscribe to your podcast and watch your latest movies whenever you add new episodes. Preparing a movie to be a video podcast is easy to do from iMovie.

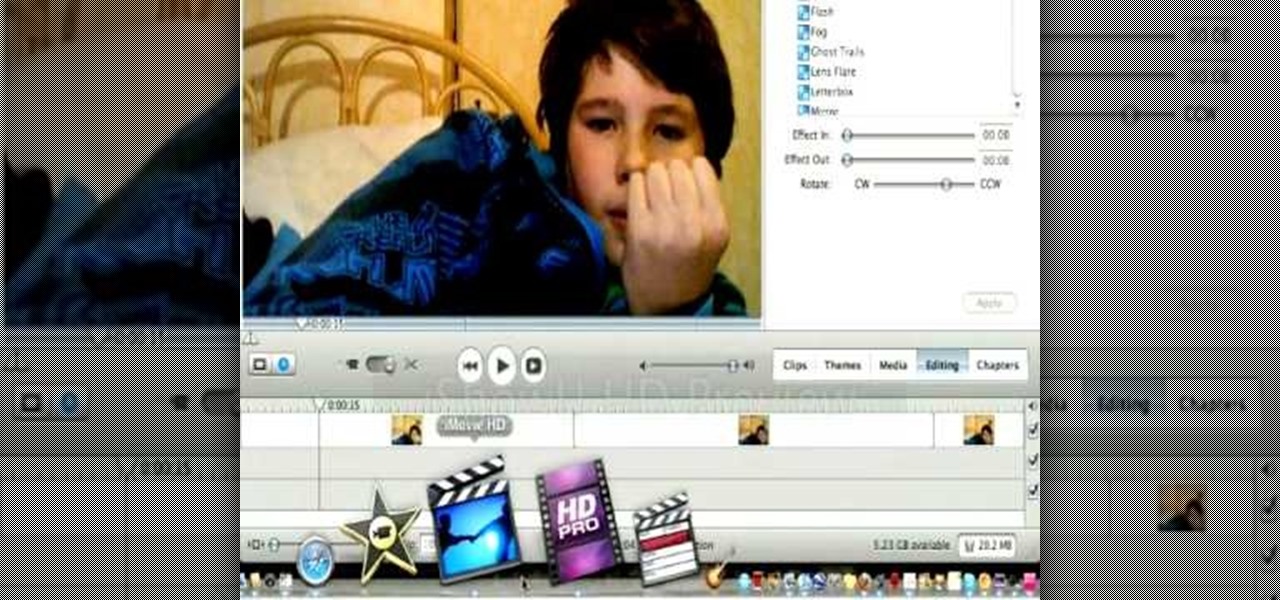
How To: Add special effects to a video using iMovie
Adding special effects to your video can make it look more professional and entertaining. Learn how to add Apple iMovie effects to your clips with ease.
How To: Make iMovie look like Final Cut Pro X
Do you aspire to one day edit video on your Apple computer with Final Cut Pro X? Until then, while all you've got is iMovie, make the most of it! Watch this video to learn how to make iMovie look like FCP X.
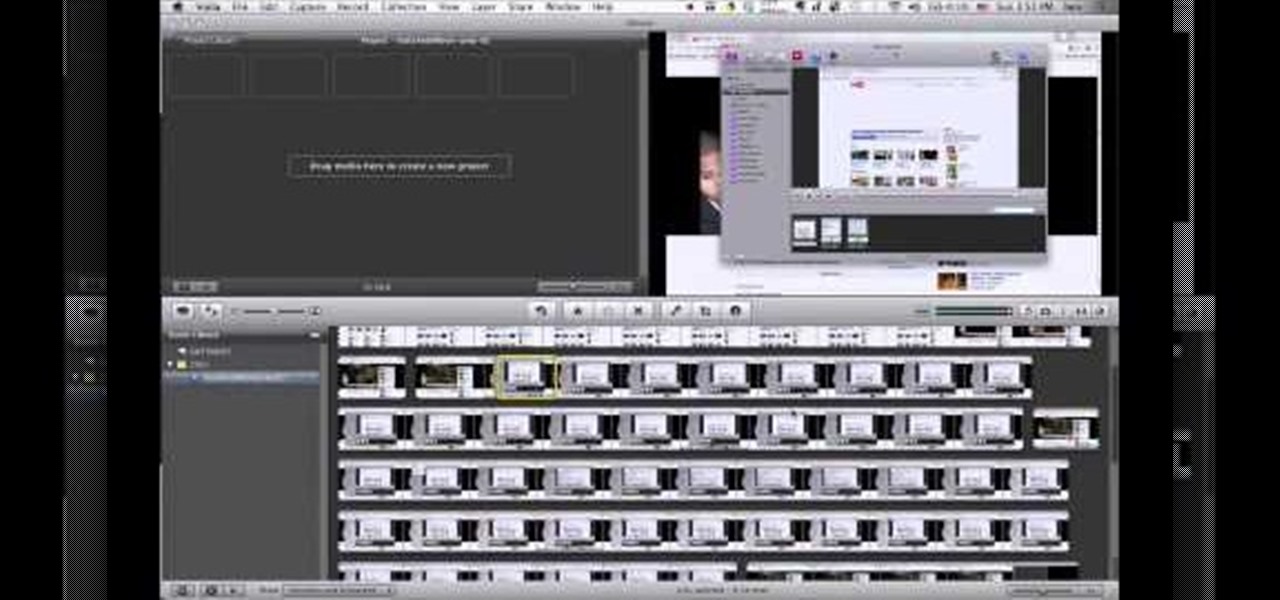
How To: Make Screencast videos with Voila and iMovie in Mac OS X
Trying to make a screencast video to share with your friends? Watch this video to learn how to use Voila to capture video of your computer screen and iMovie to edit it. You can make your own video game walkthrough and how to install videos!

How To: Use iMovie on your iPad 2
The iPad 2 had two cameras built in, put them to use! You can film video with your iPad's camera and then edit it using the iMovie app from Apple's app store. This video will show you how to use iMovie for video editing.
How To: Create a Trailer in iMovie '11
In this article I am going to show you how to quickly and easily make a professional looking trailer.
How To: Create a flashing lightning effect in Apple iMovie
If you're a fan of "Avatar" - the animated Nickelodeon series, not the M. Night Shayamalan epic fail of the movie - or any sort of supernatural action series, then you've probably witnessed the awesome flash of lightning effect before. Whether emanating from the hands of a superhero - or supervillain - or shooting out of a mutant's eyes, the lightning effect is super cool and also super doable at home using Apple iMovie.
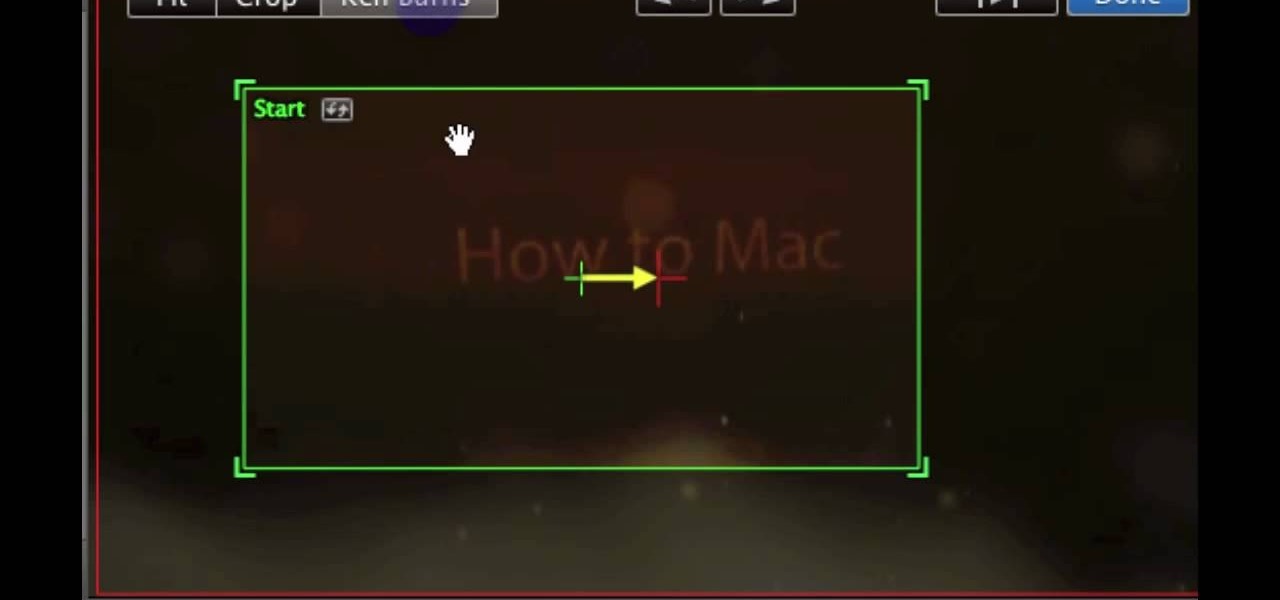
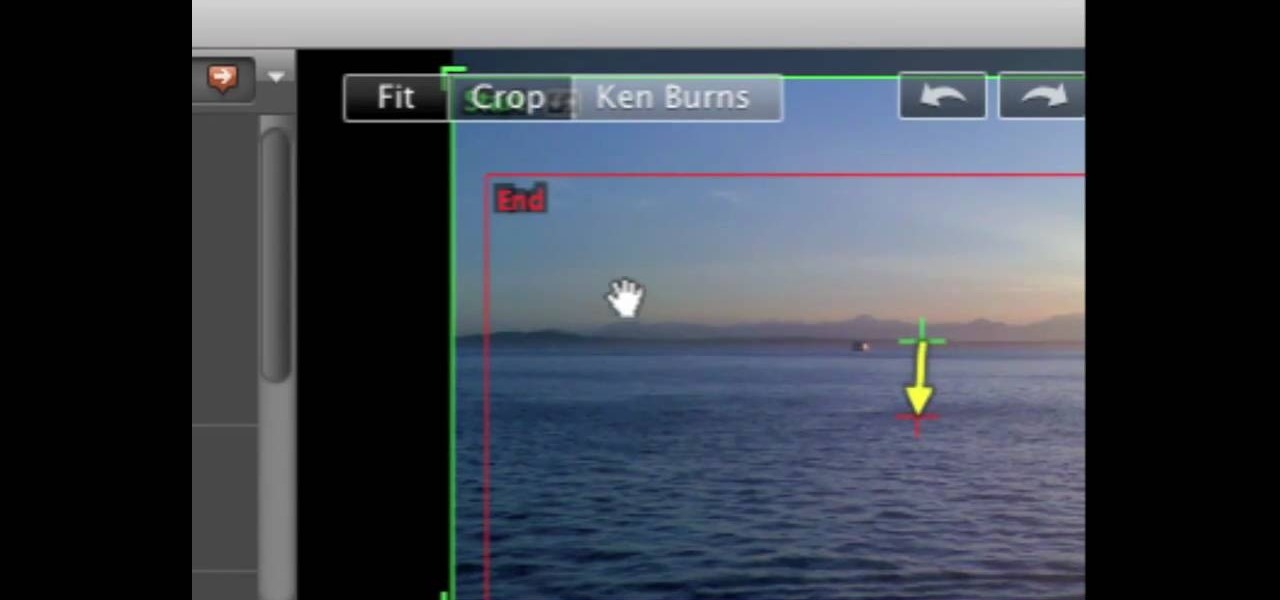
How To: Stop iMovie from automatically zooming photos
Fix the automatic zooming feature in iMovie with the techniques presented in this tutorial. When pictures and photographs are imported into iMovie for Mac, there is an automatic zoom applied to all the images. This tutorial from TheHowToMac shows how to stop this feature, as well as fine-tuning the Cropping, Ken Burns & Rotation settings.
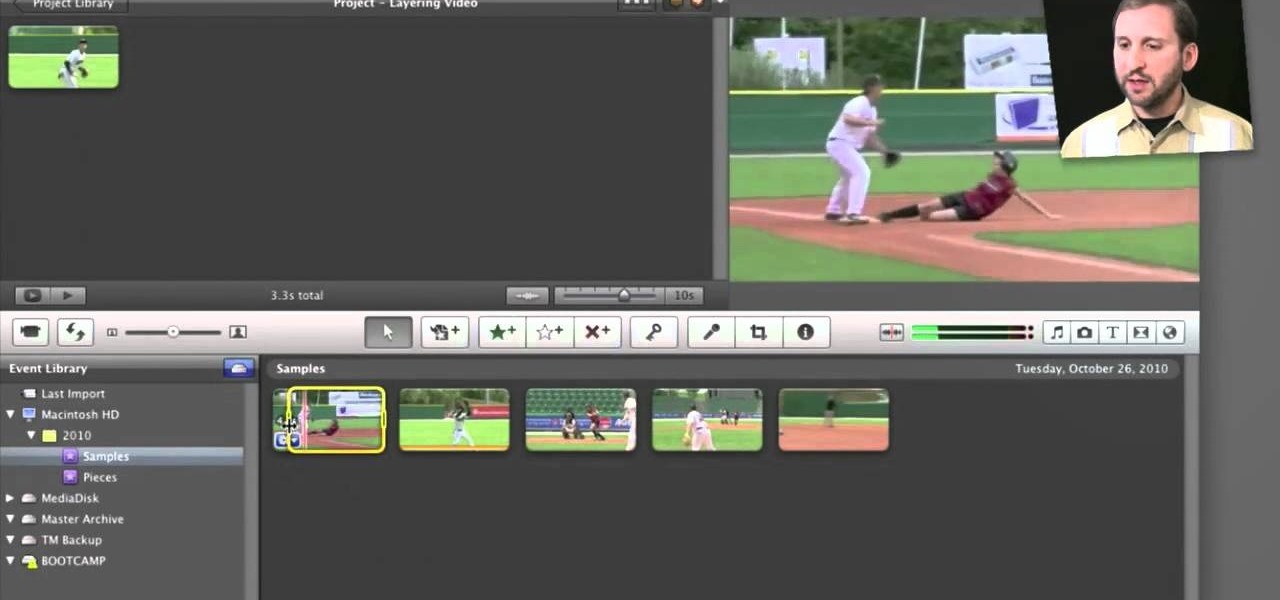
How To: Overlay photos on video and overlay video on video using iMovie
Watch this video tutorial to learn some very useful tricks in iMovie. In this video, you'll learn how to overlay both photos on video and also overlay video on video using iMovie. In addition, you'll learn how to turn on the greenscreen tool.
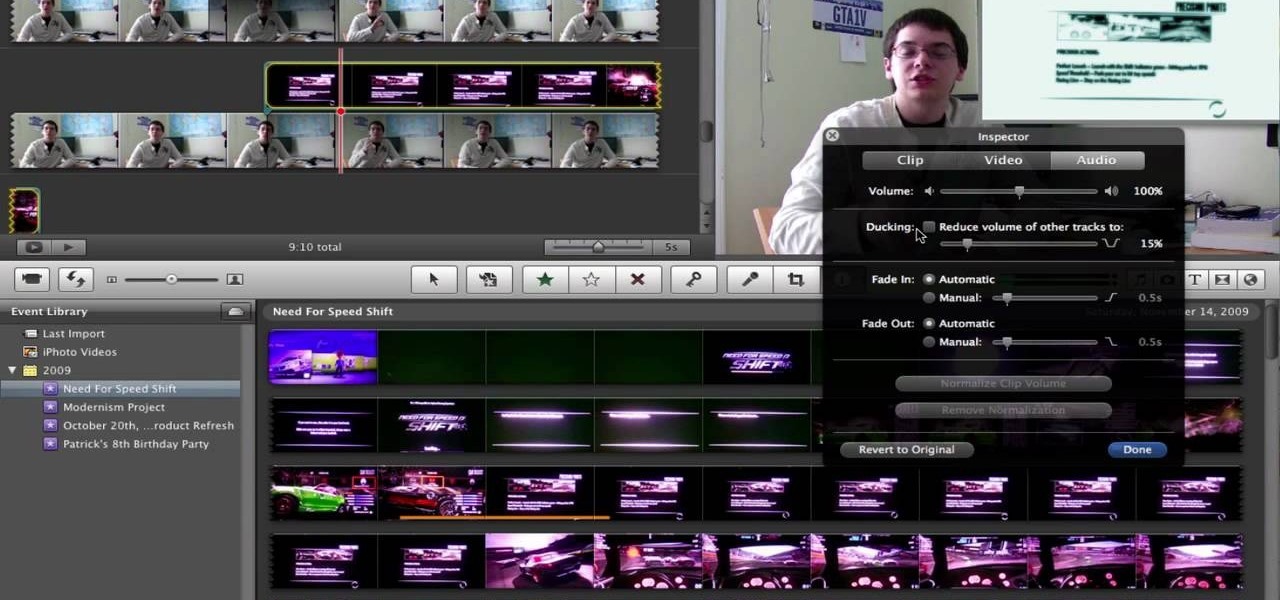
How To: Remove (detach) audio from video in iMovie
If you've imported some video footage into iMovie, but want to use the sound elsewhere, like in GarageBand, you're going to have to detach the audio from the video. This tutorial will show you how to remove the audio from an video clip in iMovie in Mac OS X. Detaching audio is very simple, so don't worry!
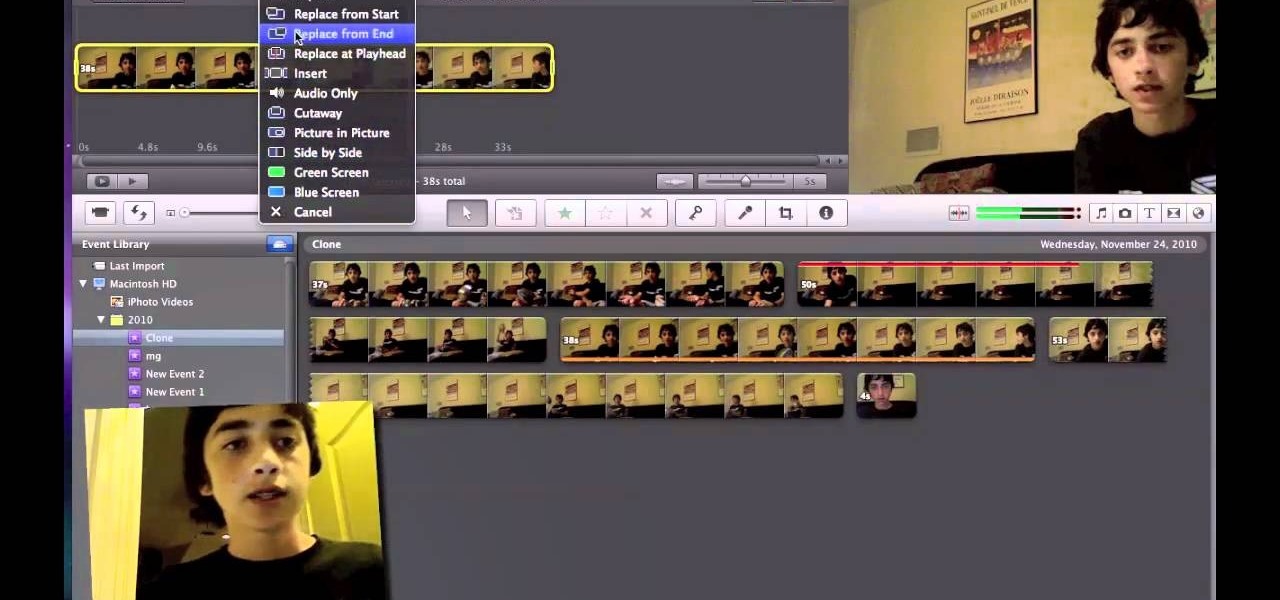
How To: How to Clone (Duplicate) Yourself Using iMovie 11or 09 (no downloads) Green Sc
Are you an iMovie user looking to double down on yourself? Well, if so, watch this video and see how to clone yourself, quickly and easily. I mean, who wouldn't want to make two of themselves? It could be so helpful for so many situations! Though cloning may be far in the future, we can still clone ourselves in Videos. Apple's new iMovies, have changed from being small easy video processors to a more complex higher quality Video editing software. This video will use the Green Screen Function ...

How To: Clone yourself using iMovie '09
Do you wish there were more of you? Well, at least two? At least in a video? This sweet video will show you how to do just that with Apple's iMovie. You'll also need a sturdy tripod that you DO NOT move. This is essential to creating the effect. If you move the tripod, this effect will NOT work, or come off as convincing. Also, of course, you will need a video camera. This technique is also possible by using other video editing software tools as long as they are capable of doing blue screenin...

How To: Clone yourself with iMovie
One is the loneliest number there is. Well, unless you clone yourself! This sweet video will show you how to do just that with Apple's iMovie. You'll need iMovie 11, or iMovie 09. This technique is also possible by using other video editing software tools as long as they are capable of doing blue screening or green screening. In addition, you'll need a sturdy tripod that you DO NOT move. This is essential to creating the effect. If you move the tripod, this effect will NOT work, or come off a...

How To: Add text and titles when editing video in iMovie
Edit your video footage like a pro with iMovie. This informative video from Vimeo's excellent Video 101 series of tutorials reviews the steps involved in using the software to create basic text overlays in the popular Mac-based non-linear editor.
How To: Trim & cut video footage with iMovie
Trim and cut video footage with iMovie. This video tutorial provides an overview of the steps involved, including selecting video resources to be used in the project, placing video resources in the timeline, highlighting the actual clips to be used from the resources, and rearranging the chronological order of the clips in the timeline.

How To: Import video into iMovie as a newcomer to digital video
Learn how to import your videos into iMovie by viewing this video. This tutorial shows the various methods used to import the video clips into iMovie, arranging the clips in the timeline, and optimizing the video footage in the editing environment.

How To: Edit your movie like a pro with iMovie
Learn how to edit videos in this quick and easy tutorial. Use iMovie in this project to make a 5x5, which is a series of 5-second video clips compiled together into a 25-second video project. This tutorial details the various steps of video editing, including importing footage, arranging clips in the timeline, trimming & cutting, editing sound & music, adding text effects and exporting to a video sharing site like Vimeo.
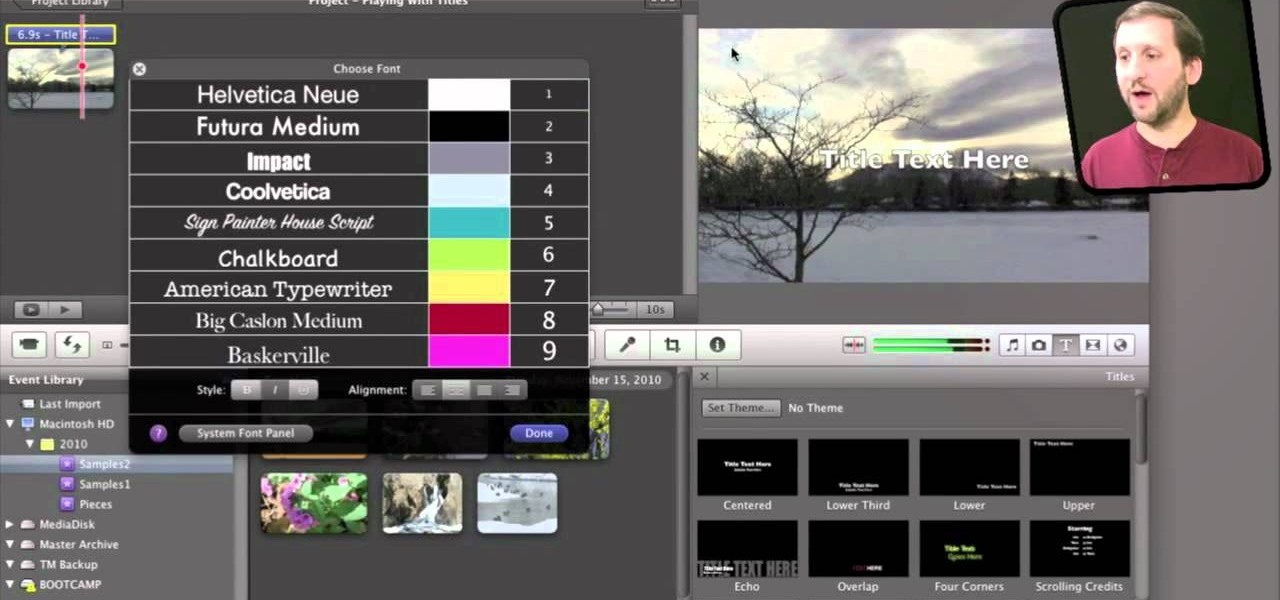
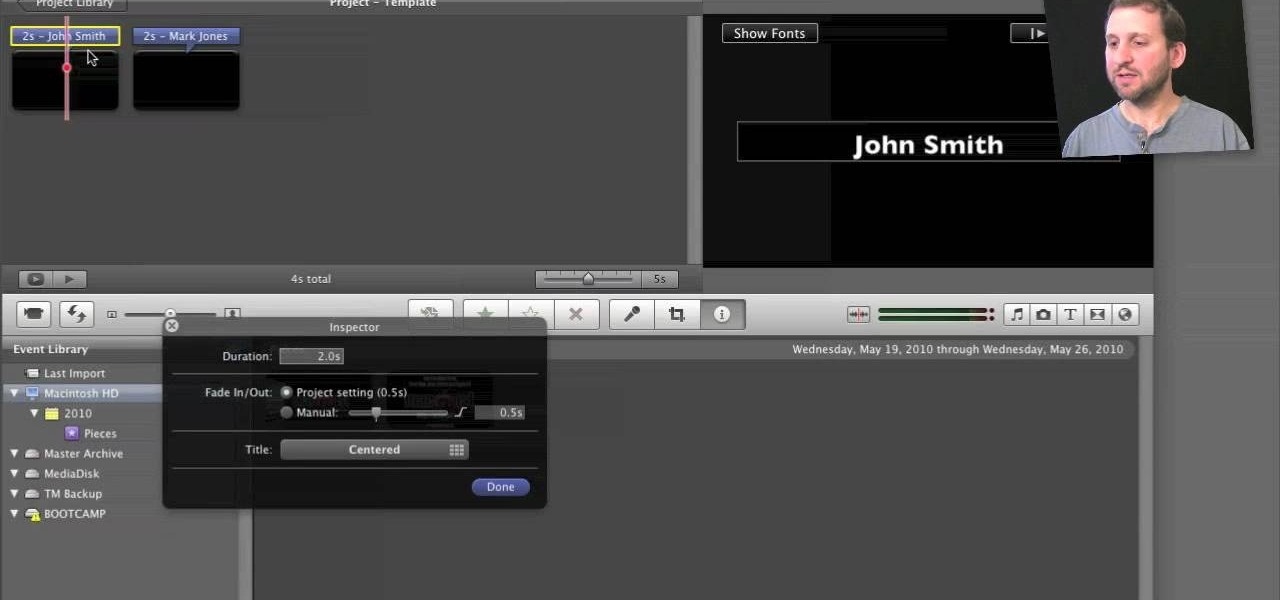
How To: Place and style titles using iMovie 11 on Mac's OS X
If iMovie 11 is what you use for your Mac movie editing, you'll want to check out this how-to and learn to make the most of iMovie 11's titling abilities. While the set of iMovie 11 titles is more limiting than most video editing tools, you can use some simple tricks to place and style titles. Some of the title options allow you to position the text by simply inserting lines and changing font properties.
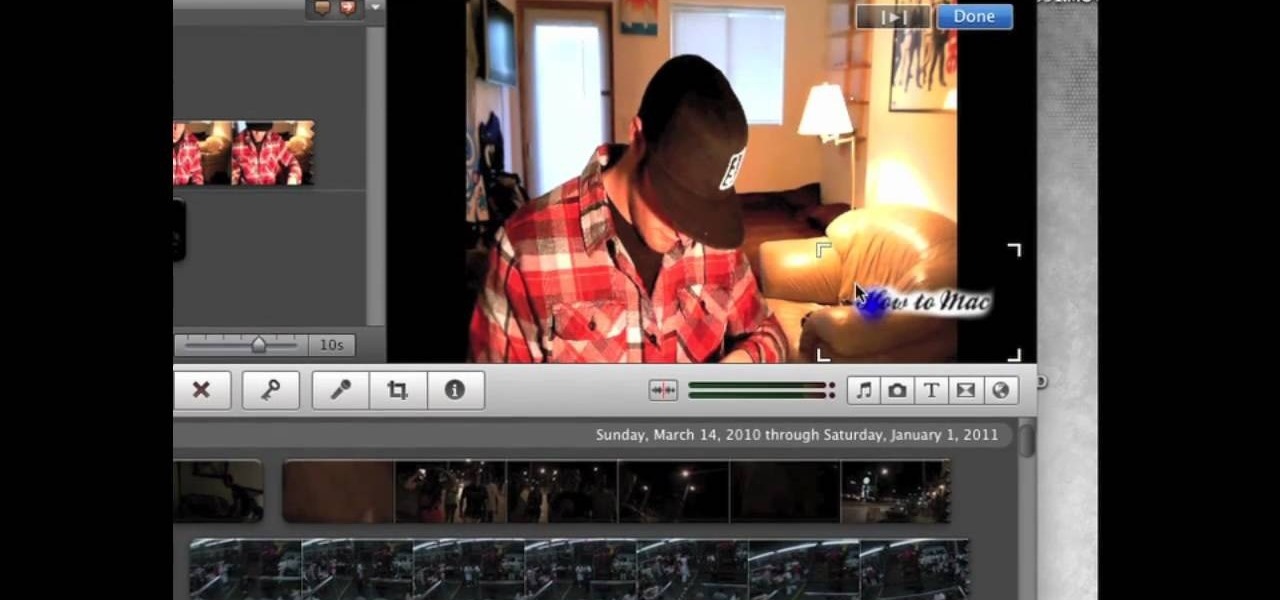
How To: Create custom titles and watermarks for your footage in iMovie
This tutorial shows you how to add some more functionality to the clips on your iMovie films. Create custom title screens by adding logos, transparent images and watermarks to your videos using this versatile and powerful movie editing software for Mac.
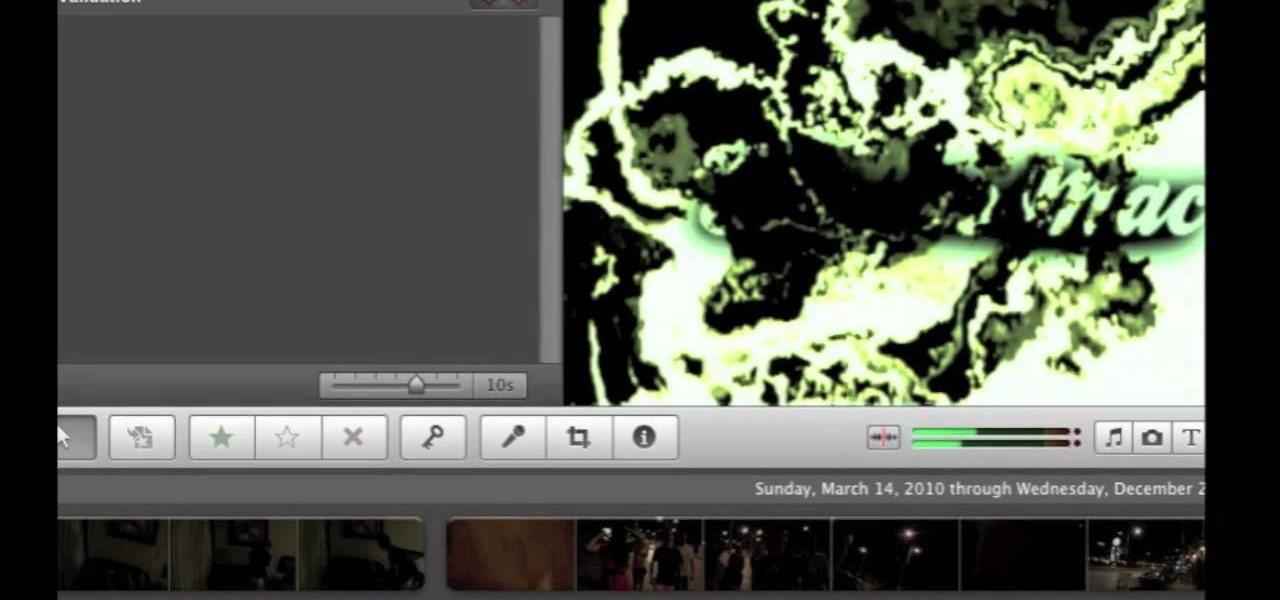
How To: Change the color of your video manually using iMovie
Have an awesome intro where the only thing missing is a few color changes? This tutorial is for you! It's an easy and quick tutorial showing you how to change colors in your video using the iMovie video editing program for Mac.
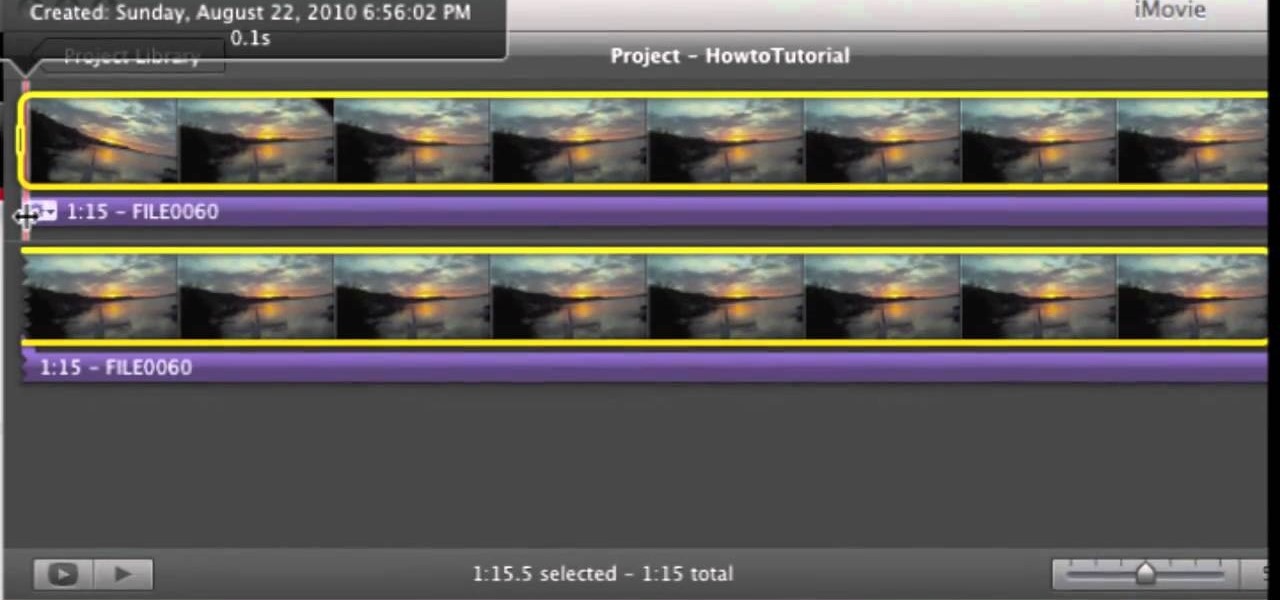
How To: Make a time lapse video using iMovie
You don't need any expensive video equipment to make your own time lapse movie - all you need is a Mac with iMovie installed. This tutorial shows you how to take footage you already have and turn it into a time lapse clip.

How To: Save still images and screenshots from your iMovie clips
For this tutorial to work, you will need to be running iMovie on a Mac. Take any frame from your footage and turn it into a still shot that will function like a photograph. Use it as a screenshot or promotional tool for your movie!

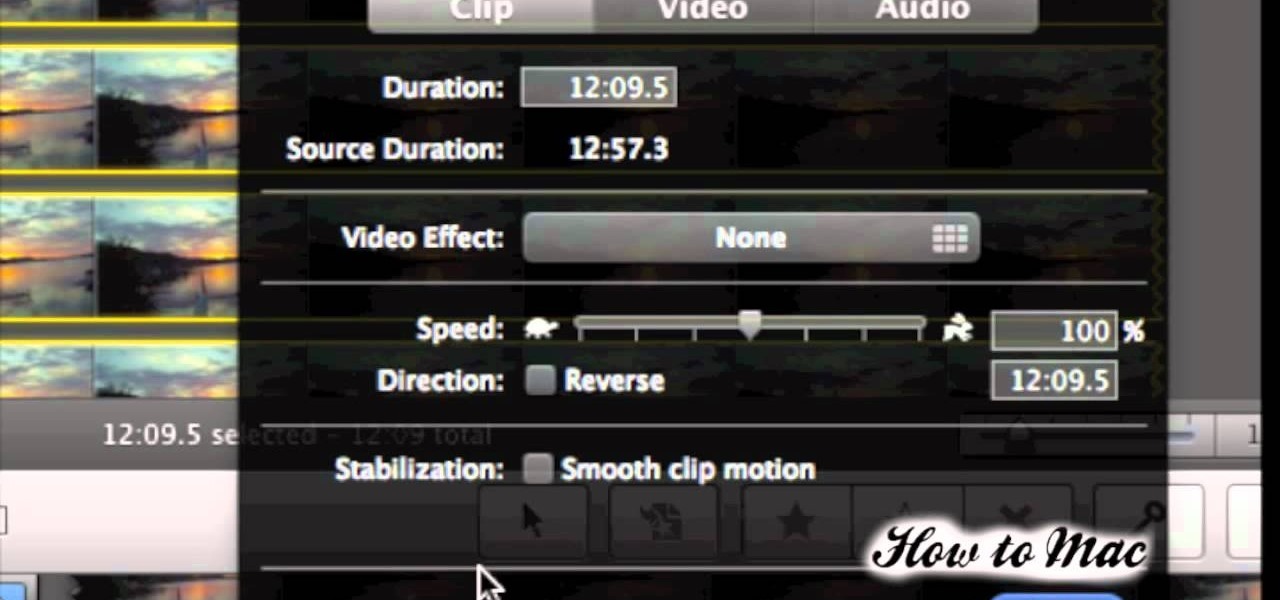
How To: Use iMovie 11's new speed, fade and replay effects
Apple's iMovie 11 comes with some great new video effects and this quick tutorial shows you how to put them to use. Whether you want to slow down, speed up, fade to dream, or replay your video sequence, iMovie 11 has the tools to make it happen. Slow motion, fast motino, replay, fade and flash & hold are all at your disposal. Ready... and... action!
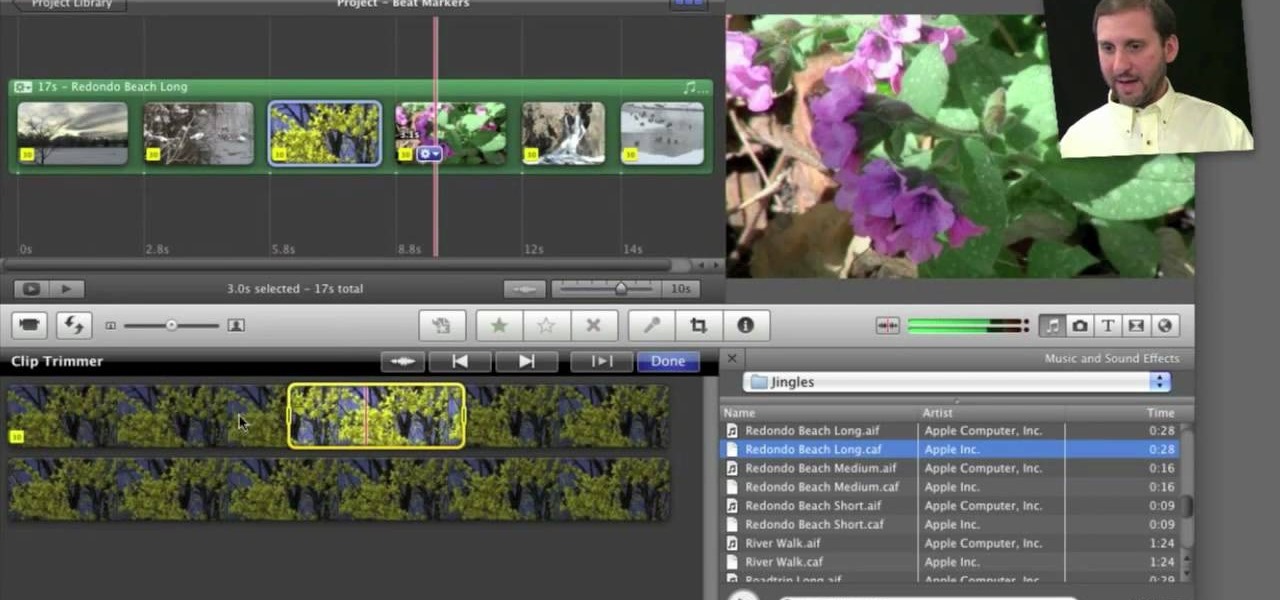
How To: Use beat markers in Apple's iMovie 11
If you're interested in editing music videos one of the things you'll want to know is how to edit on the beat. So, where ARE the beats? This helpful video shows you how to use iMovie 11's beat marker tool to find and mark the beats, so you can cut to your hearts delight.
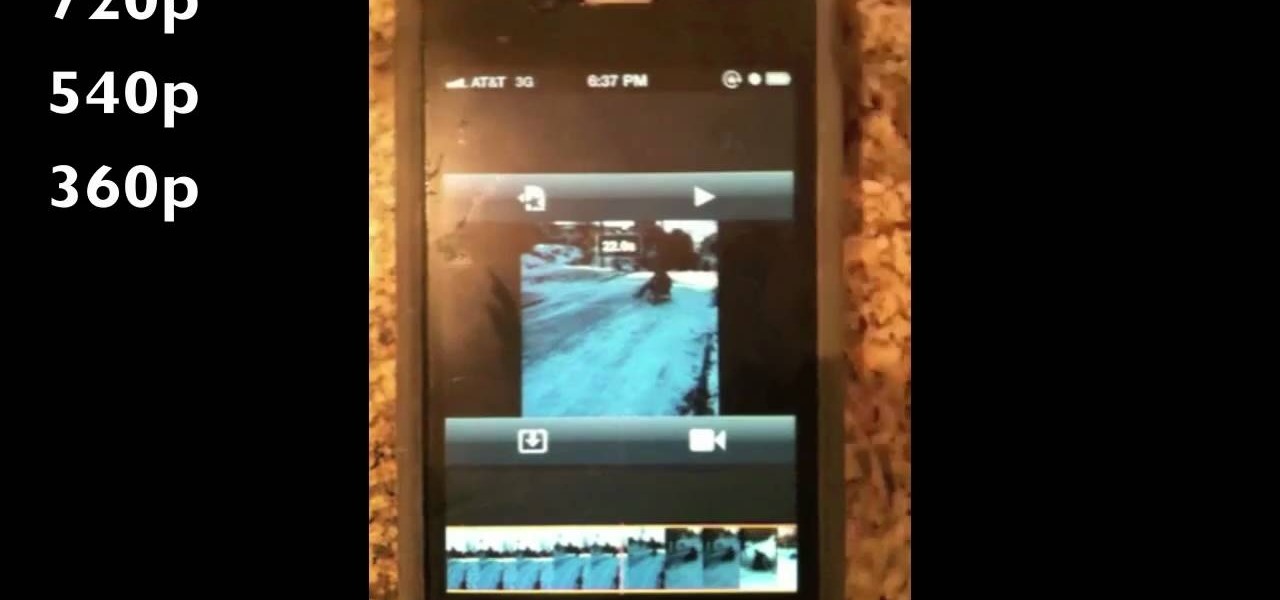
How To: Edit videos on your iPhone 4 with the iMovie app
Ever wish you could take your iMovie application on your desktop with you wherever you go? Now, with the iMovie app, you can use your iPhone 4 to edit videos on the go. The possibilities are endless - from making a video postcard to filming a kid's birthday party, you can make instant memories!
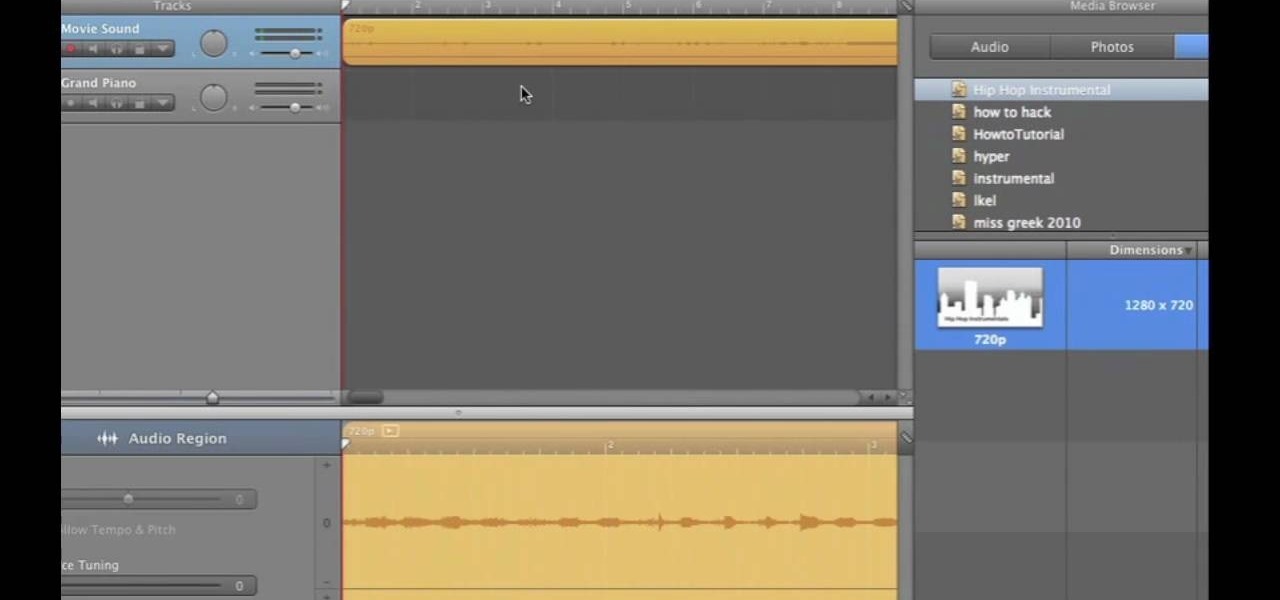
How To: Extract audio tracks from videos using iMovie and GarageBand
If you want to work on some audio attached to a video, then it's possible with two iLife programs on your Mac— iMovie and GarageBand. This video will show you how to strip that audio track from the video, converting it to MP3. You can strip the audio from files such as .MPG, .MOV, .AVI, .MP4, AVCHD, MPEG-2 and H.264.
How To: Use picture-in-picture, side-by-side and cutaway effects in iMove 11
Fancify your home movies with the techniques demonstrated in this free video software tutorial, which, specifically, addresses how to create PIP, side-by-side & cutaway effects within iMovie '11. For detailed, step-by-step instructions, and to get started using these effects yourself, take a look.
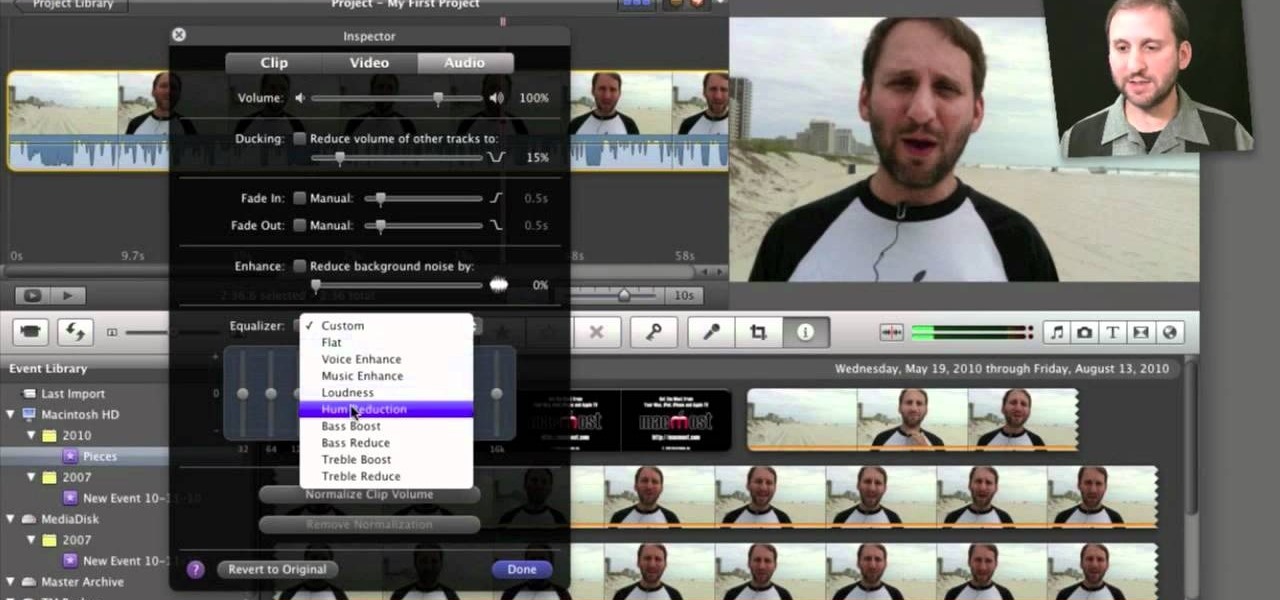
How To: Edit and apply effects to an audio track in Apple iMovie 11
Need some help figuring out how to edit and apply effects to an audio track with iMovie 11 from Apple's iLife 11 software suite? It's easy! And this brief home-computing how-to from MacMost presents a complete, step-by-step overview of the process. Get started working with audio tracks in iMovie 11 with this video guide.

How To: Get started making movies using iMovie editing software
So you've just installed iMovie on your Mac... but now what? This tutorial walks a budding director through all the basic functions and features available in iMovie, and shows you how you use them to best effect when creating your own film projects.
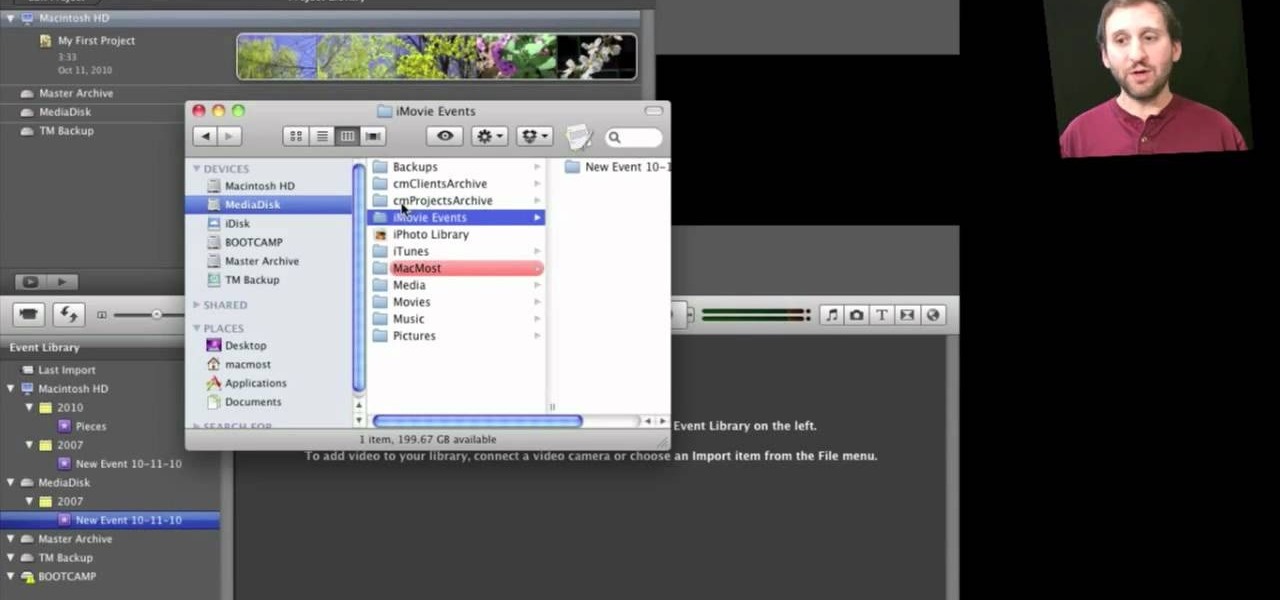
How To: Store clips and projects on an external drive when using iMovie
Interested in keeping your iMovie projects on an external USB or FireWire hard drive? It's easy! So easy, in fact, that this home-computing how-to can present a fairly talky overview of the process in over five minutes. For more information, including detailed, step-by-step instructions, take a look!
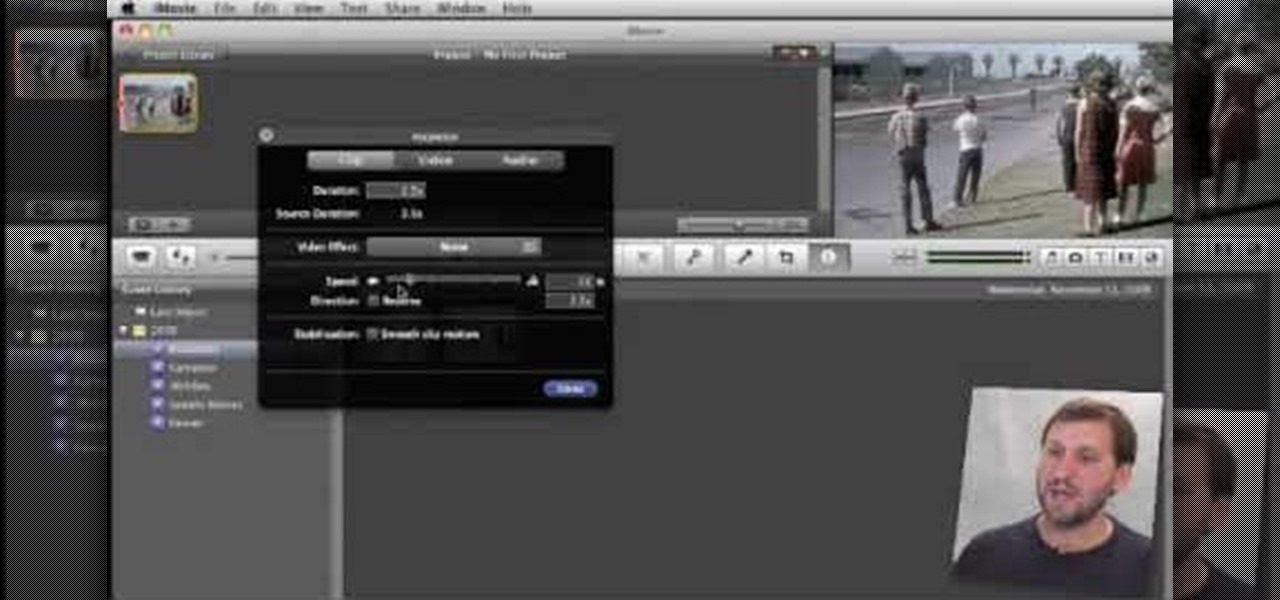
How To: Speed up, slow down in reverse in iMovie 09
In this tutorial, Gary teaches us how to speed up and slow down in reverse in iMovie 09. First, open up iMovie on your computer and set your preferences so the advanced tools are turned on. Now, open up your project and play it back at normal speed. Next, go to the information for this clip by selecting the "i" button. Click on the speed and then click "convert entire clip" so you can control the speed of the clip. After this, you can move the lever on the gauge to make it faster or slower. W...
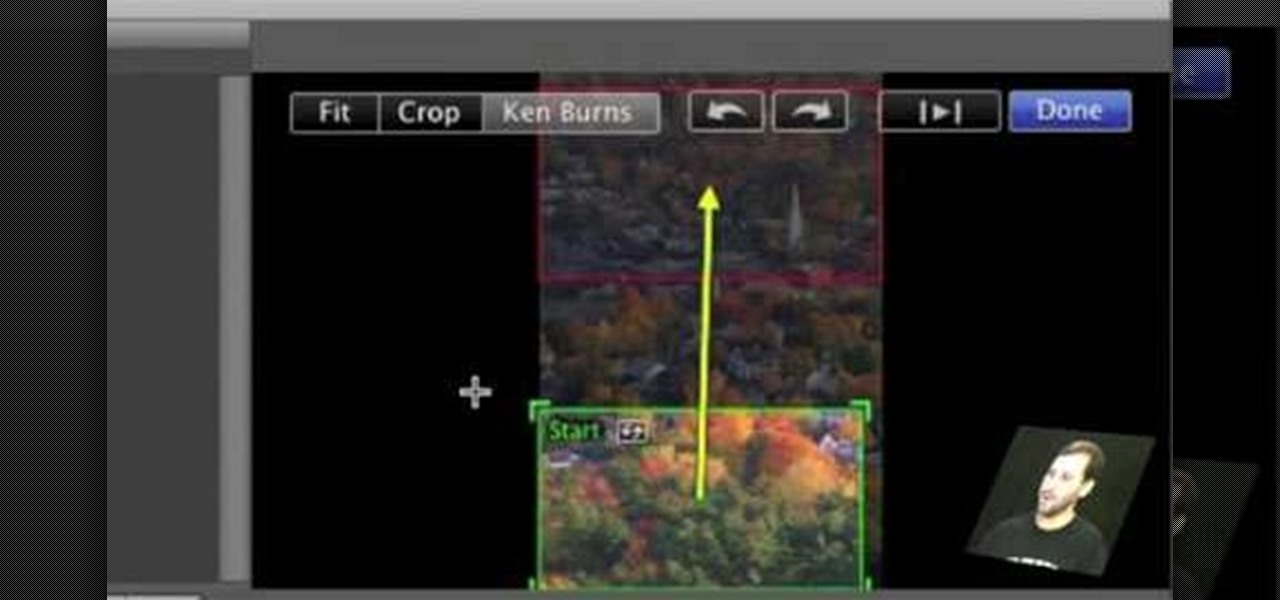
How To: Use the Ken Burns Effect in iMovie 09
First open up the image by clicking on photo button or just drag the image from finder to the project area. Now click on the crop button or just press the c button, you will see a green and a red area in your picture. Now set the red area to where you want to zoom in and green area to where you want to start your zooming. Now set the green and red area in the picture as showing in the video and play it, you will see that the picture is zooming to where the red area was set. Now change the ima...

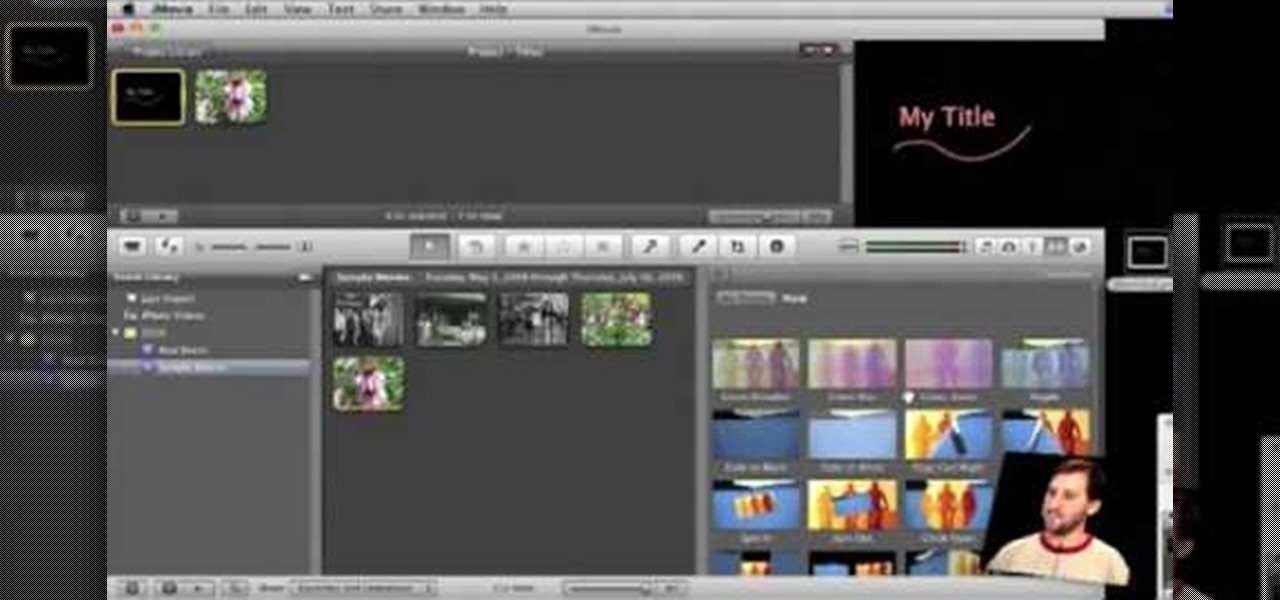
How To: Customize slideshows with titles using iMovie
In this video, we learn how to customize slideshows with titles using iMovie. First, find the photos that you want to add. Then, right click on one of the photos and then choose "show file". Now you will have a selection of all the photos that have the same search name. Drag these pictures into iMovie, then wait for the program to finish loading. When it's loaded, you will have the picture in a slideshow. You can add in any effect you would like to the pictures, or just leave them normal. Whe...
How To: Create custom titles in iMovie 09
In order to make Custom titles in IMovie '09, you will need the following: Seashore or any other compatible program.
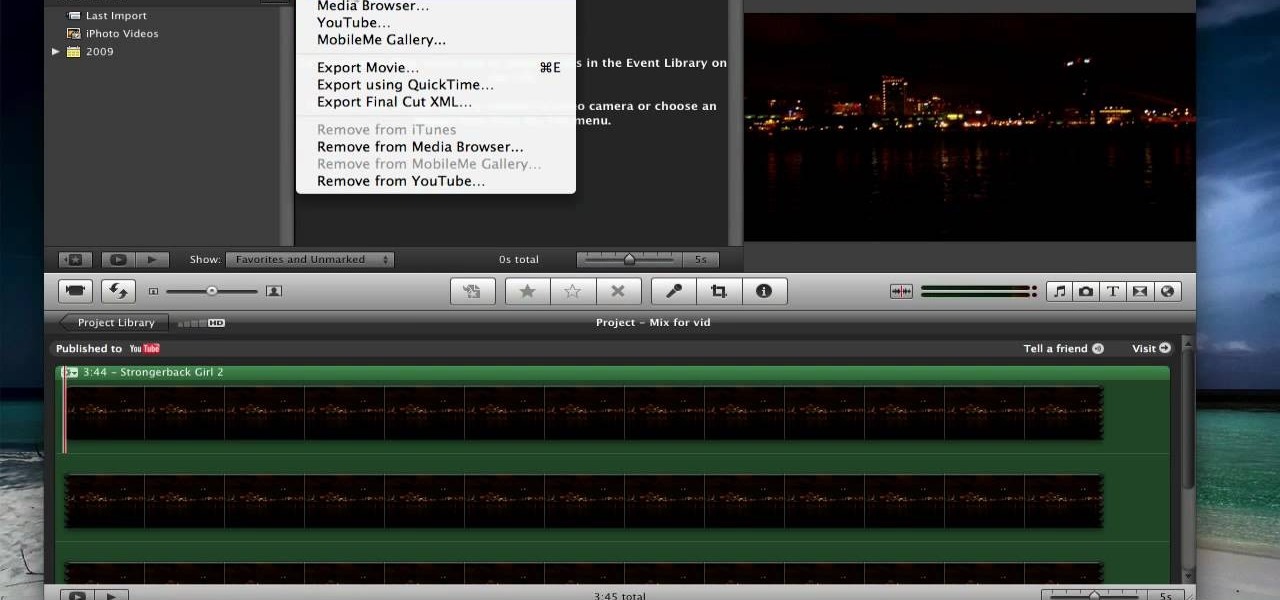
How To: Export in HD in iMovie '09
In this tutorial, we learn how to export in HD in iMovie '09. First, open up your iMovie, then go into "share", then "YouTube". If the HD is not checked, you will need to check it and then click "next" and "publish". That is the quickest way to export to YouTube. To do this from iDVD, click on the "share", then "iDVD" and then it will go to iDVD and you can export it in HD. You can do this for any of your movies by simply clicking on the share menu, and making sure your settings are changed t...
How To: Create a credit sequence within Apple iMovie
Learn different ways to create iMovie credits sequences using the titles feature. You can do more than just scrolling credits by stringing along sets of single-name titles or using images. This home-computing how-to from the folks at MacMost will get you off and running. For detailed instructions, and to get started making your own titles sequences within iMove, take a look!
How To: Achieve a picture-in-picture effect in Apple iMovie
This video will show you how to take advantage of one of Apple's iMovie advanced editing feature, picture-in-picture effect. This feature allows you to embed either another video, or images into a base video. To enable this valuable tool in iMovie, go into the iMovie preferences by clicking on "iMovie" in the top left hand corner of your screen. Under the General tab make sure "Show advanced tools" is selected. Import a video from your event library by dragging it into iMovie and selecting pi...

How To: Create intertitles for iMovie projects in Keynote
This video shows you how to make a title intro with iMovie and keynote. Step one is to open up keynote. The resolution for the videos should be in 720 HD. The next thing to do is to type in the text that you are going to use. Change the font and the color to suite the style you are going for. Insert graphics where ever you would like to. Then in the top right hand corner click on the inspector button and add in the animations and movements that you want to see in the video. Now you have to or...
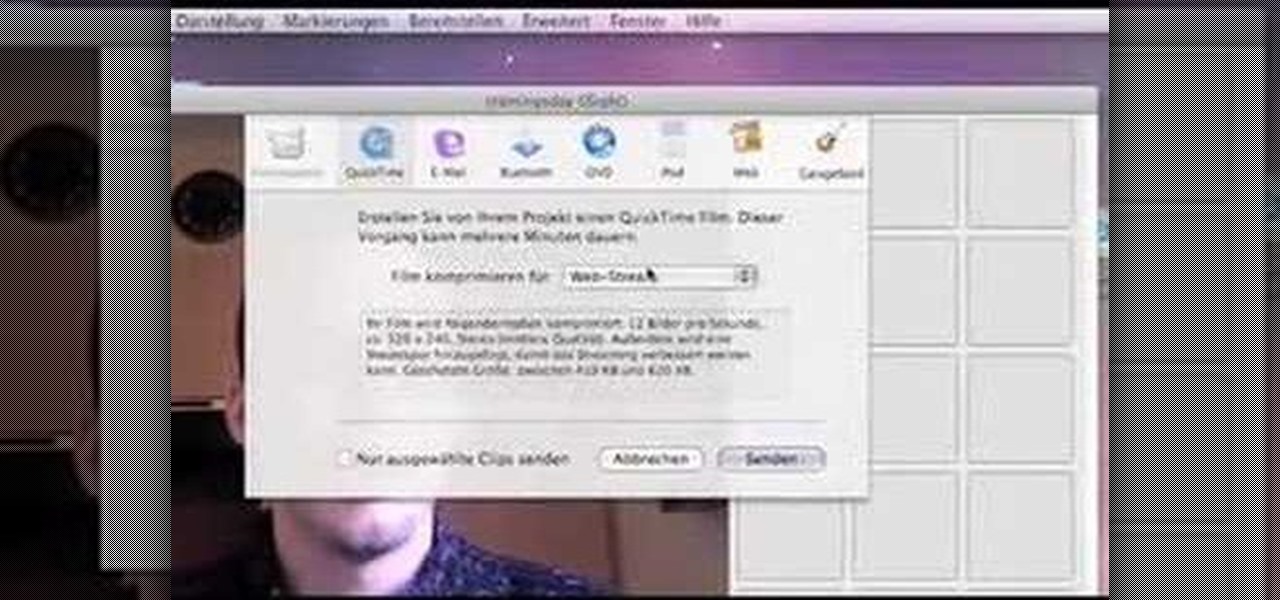
How To: Make a video clip with an iSight web camera & iMovie
Start up iMovie. When the screen pops up you should choose new project. Give you project a name and then start iMovie. Switch to the integrated camera option found at the bottom of the screen. Press record and you can start talking for as long as you want. Record what you want, then when you want to finish, press the "esc" button on your keyboard. You can then choose the clip that you just recorded, drag it to the bottom of the screen go to file, choose export, then web-stream, then click sav...
Next Page
Prev Page